
10 Essentials for Hiking: What I Carry and Why
Have you ever packed for a quick hike and realized halfway through that it wasn’t going to be quite so quick? Maybe the trail took longer than expected, you ate your only snack before the climb, or sunset suddenly felt a little too close.
After 5,000+ miles of backcountry hiking, including thru-hiking the Pacific Crest Trail, I’ve learned that the little things in your pack can matter a lot. I’ve patched gear on trail, planned around long stretches without water, and lost hiking time to a sunburn that was entirely my own doing.
If you’re anything like me, you probably first started hiking with hikes that you wouldn’t consider “hiking”. Maybe it was a small nature walk in your town or a short trail in a local park. You probably didn’t bring much more than a bottle of water or maybe a snack. And it’s usually fine – but we’ve all the seen the reports. Accidents happen.
The 10 essentials for hiking are items you should be carrying on every hike. They help you prepare for a change of plans: getting delayed, dealing with an injury, or spending longer outside than you intended. The 10 essentials should help you survive an unexpected night outside.
We’re going to review what each category means, how I cover it, and the gear I think is worth carrying. Start with the quick checklist below, then jump to any category you’re missing or need more advice on. You probably already own some of this stuff – which is great!

Backcountry Emily contains affiliate links, and I may earn a commission—at no extra cost to you. Some gear in this post may have been gifted or part of a paid collaboration, but I never accept products or partnerships I wouldn’t personally recommend. All opinions are 100% my own. As an Amazon Associate, I earn from qualifying purchases. See my Privacy Policy for more information.
What Are the 10 Essentials for Hiking?
The ten essentials are a grouping of items that have been deemed necessary to survival in the outdoors. Below, you’ll find a little blurb from me about why something could be considered essential, especially if something were to go wrong on your hike.
The Ten Essentials are ten categories of hiking equipment, rather than ten individual products you need to buy. The system comes from The Mountaineers and helps you prepare for problems on trail and if you have to spend an unexpected night outside.
The categories are:
- Navigation
- Illumination
- Sun protection
- First aid
- Knife and gear repair
- Fire
- Shelter
- Extra food
- Extra water
- Extra clothing
What you pack within each category depends on your route, conditions, and needs.
For example, a backpacker may already have a tent. A day hiker needs to think about emergency shelter separately. Both need a way to stay protected if the trip doesn’t go to plan.
For the purposes of this post, I’m going to be reviewing the 10 essentials through the lens of a day hiker. Backpackers should know the 10 essentials, but your backpacking gear list is probably already covering them, just with more robust and appropriate gear.
My Hiking Safety Essentials: Quick Checklist and Gear Picks
|
Essential |
What to pack |
My pick or starting point |
|
Navigation |
Offline map, backup map/compass, power |
Gaia GPS or AllTrails Plus on phone; inReach Mini |
|
Illumination |
Headlamp |
BioLite Range 300 |
|
Sun protection |
Protective clothing, sunscreen, sunglasses |
REI Sahara sun hoodie + sunscreen |
|
First aid |
Supplies and personal medications |
Pre-made first aid kit |
|
Knife and repair |
Small tool and relevant repair items |
Spyderco Ladybug + MODL strap |
|
Fire |
Ignition source and fire starter |
Bic lighter |
|
Shelter |
Emergency protection for conditions |
SOL emergency blanket |
|
Extra food |
Ready-to-eat food beyond your plan |
Extra granola bars |
|
Extra water |
Water plus suitable treatment if refilling |
Aquatabs or Sawyer Squeeze |
|
Extra clothing |
Warmth and weather protection |
Puffy jacket and rain jacket |
1. Navigation: Know Where You Are and How to Get Back
Having a hiking app on your phone and having your route downloaded are two different things. Make sure the map you need actually opens without cell service before you leave the trailhead.
I use both Gaia GPS and AllTrails Plus, it just depends on the trail. I like Gaia’s detailed topographic maps and layers, and AllTrails Plus is another way to download the trail map I need and easily send GPX files to my Garmin watch.
When I’m going off trail, I also like printing custom, zoomed-in maps from CalTopo, or carrying a detailed topographic waterproof paper map.
I also wear a Garmin Fenix 6 watch which has built-in topographic maps. It’s not the best for actual navigation, but I can download GPX files to it and see that I’m on the right path right on my wrist.
Learn to read the terrain and use a map and compass, too. A printed topographic map is a recommended backup even when your primary navigation is electronic. A power bank to keep the phone charged won’t help if you drop your phone off a cliff or it breaks from water damage.
My picks: Gaia GPS or AllTrails Plus, with backup power
You don’t need subscriptions to both apps to start hiking. Choose one that has the maps you need and learn it well. Offline downloads require an eligible paid plan in these apps; make sure the map is saved on your phone before you lose service.
I also carry a Nitecore 10,000 mAh power bank, plus the charging cords my devices use. 10,000 mAh is generally enough emergency power for my needs, but if you’re using your phone for lots of stuff: like filming, listening to music, or plan to be out all day long, you might want 20,000 mAh.
- ➡️ Explore Gaia GPS for offline hiking maps
- ➡️ See AllTrails Plus and its offline maps
- ➡️ Nitecore 10,000 mAh power bank
- ➡️ Get topo maps on your wrist with Garmin watches

Garmin inReach: A way to call for help
My inReach Mini goes hiking with me as a separate way to communicate beyond cell service. It’s part of my emergency setup.
I’ve watched my phone lose nearly 20% of its battery in less than an hour while using satellite messaging. That was my experience with one phone in those conditions, but it reinforces why I like having a separate device instead of putting everything on my phone.
An inReach is a more substantial investment than a map app. But Its SOS connects you with Garmin’s response coordination center. Check the activation and service requirements for your exact device before your trip, and learn how to use it before you need help.
➡️ Get the ultimate outdoor safety device

2. Illumination: Bring a Headlamp, Even for a Day Hike
You don’t have to plan a night hike to end up hiking in the dark. A slower pace, a wrong turn, or helping an injured hiking partner can put you on the trail later than expected.
I prefer a headlamp because it keeps my hands free. My phone is already doing enough jobs without also being the thing I have to hold up while walking over rocks.
My day-hiking pick: BioLite Range 300
I use a lot of different headlamps, but my current day-hiking headlamp is a BioLite Range 300. The headband is super comfy, the light tilts and is dimmable, and it’s very simple to use. It also has a 1 hour “reserve mode” at 5 lumens in case you forget to charge it.
I prefer a rechargeable light because I’m already carrying a power bank for my phone and it’s lighter weight. I’m also not as likely to have AAA or AA batteries at home anymore.
If you already have a reliable battery-powered headlamp, bring the appropriate spare batteries and use it. You don’t need a new one to check this category off.

3. Sun Protection: The One I Learned the Hard Way
Story time! On the PCT, I switched from a long sleeve sun shirt to a short sleeve one and got severe sunburns on my arms. I felt awful – chills, nausea, dizziness, fatigue – and ended up spending an extra night in town. I got sun sick.
Then I had to hike for miles in my rain jacket to keep my arms covered until I found a trail angel with, I’m not exaggerating, a First Aid ROOM at her cabin. She fixed me up – and my arms stayed covered with dressings for days afterward. This was the most pain I was in during the whole PCT.
I also developed basal cell carcinoma on one of those arms a couple years later and had to pay lots of money to have it excised.
So yes, I have opinions about sun shirts now.
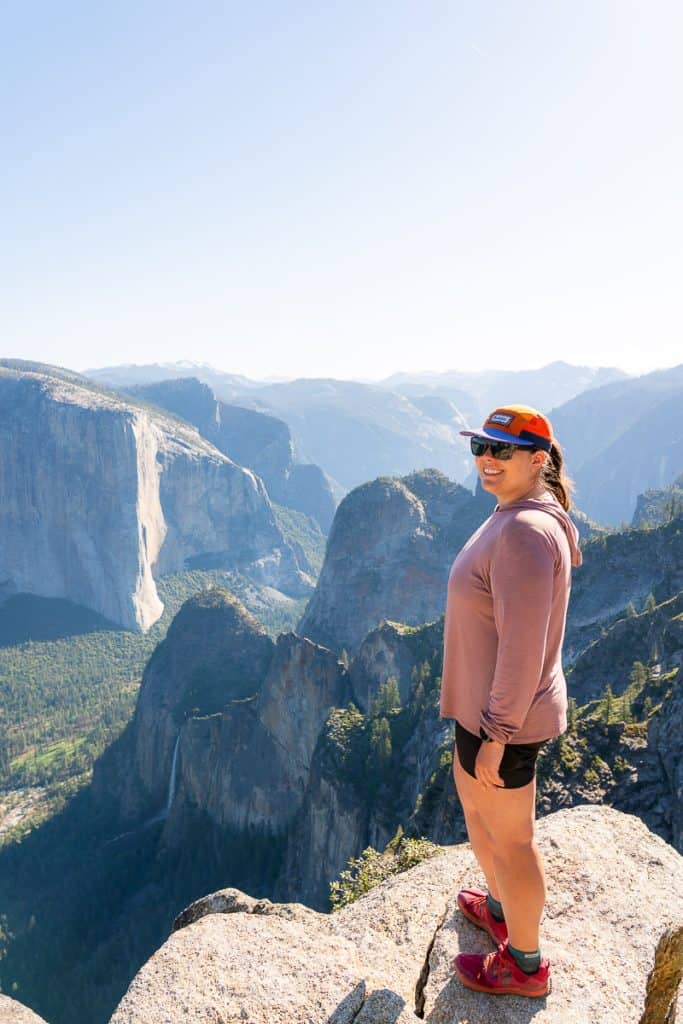
I prefer covering my arms with a sun hoodie over having to keep reapplying sunscreen there. I also bring sunscreen for exposed skin, SPF lip balm, and sunglasses.
My approach: A sun hoodie and sunscreen I’ll actually use
The REI Sahara Shade Hoodie is one sun hoodie I’ve liked and used a lot – for over 5 years now! For someone who wants to cover their arms and neck while hiking, a sun hoodie is worth considering; if you prefer short sleeves, account for the extra sunscreen and reapplication your exposed skin will need.
For sunscreen, I’d start with a format that suits how you dress: a stick can be convenient for a small area like your face and the back of your hands, while a bottle is more practical if you need to cover your arms and legs.
➡️ Check the REI Sahara Shade Hoodie
Read next: Check out the rest of the toiletries I bring when I go on overnight hikes.
4. First Aid: Pack Supplies You Know How to Use
My first aid kit is small and assembled around what I’m comfortable using. It includes supplies for things like hot spots and minor scrapes, plus personal medications. Your kit needs to reflect your medical needs, training, hiking partners, and route.
Leukotape is one of the little items I always pack. I wrap some around my pill bottle so I don’t need to bring the whole roll, and use it when I feel a hot spot starting. Stopping to take off your shoes is annoying. Hiking the next several miles with a blister forming is worse.
My Wilderness First Aid course gave me much more context for what belongs in this kit and how to use it. If you hike regularly, especially in remote places, I really recommend taking a course.
My approach: A small kit tailored to me
You can build a kit from appropriate supplies you already have. If you’d rather start with a preassembled option, an Adventure Medical Kit gives you a base to review and customize.
Check its contents, intended group size, and trip length, then add what you personally need. Buying a kit doesn’t mean it already covers your prescriptions or that you know how to use everything inside.
➡️ Pick up an Adventure Medical Kit for the basics

5. Knife and Gear Repair: Small Fixes Can Be Worth a Lot
Gear can fail even when it’s relatively new. During the last 50 miles of the Colorado Trail, the mesh upper of my shoe started separating from the outsole. I tried duct tape. It didn’t last long…but it kind of helped.
I’ve also used Tenacious Tape for small gear repairs, and I carry a small knife for cutting tape and other little jobs. Many hikers will appreciate a multi-tool: it comes with more bits and bobs in addition to a knife: like pliers, tweezers, hex key, etc. It just depends on which one you buy.
In general, you should be able to repair something that would be essential to repair in the field. Like if you’re snowshoeing or backcountry skiing – you should carry repair supplies that could repair those essential pieces of equipment.
My pick: Repair tape & knife
Tenacious Tape is useful for small holes in compatible fabrics. I’ve also started carrying MODL gear ties in case a strap breaks.
The rest of the kit depends on what you’re bringing. An inflatable sleeping pad needs an appropriate patch kit on a backpacking trip. It doesn’t need to come on a day hike when the sleeping pad is at home.
- ➡️ Shop MODL infinity tools
- ➡️ Shop repair tape for your gear
- ➡️ This is the ultralight knife I pack
Read next: Check out my full backpacking first aid kit and repair kit here.
6. Fire: Carry a Way to Start One, But Don’t Rely On It
Starting an emergency fire can be a way to get found if you’re lost and also stave off hypothermia. A Bic lighter has been my simple choice for this category. I will sometimes carry waterproof matches if I’m anticipating very wet weather.
I personally prefer to carry more warm clothing vs. fire starting material, just because you have to make a pretty large fire for signaling to be effective and I don’t want to start a forest fire.
7. Emergency Shelter: Plan for the Night You Didn’t Book
This is an easy category to overlook when you’re day hiking. You aren’t planning to sleep outside, so why would you pack a shelter?
But accidents happen all the time. You could fall and injure yourself and it could take search and rescue hours to reach you. In that time, when you’re not moving, you could start to develop hypothermia – in the daylight too, let alone at night.
I always carry an emergency blanket now, including on day hikes. It’s one of those compact items that’s easy to leave in the pack. A tarp or emergency bivy is another option.
A lightweight emergency blanket is compact, but it isn’t a sleeping bag or a complete answer to cold-weather exposure. Choose your shelter and extra clothing together, based on what an unplanned night could actually look like. The goal is survival, not comfort though.
If you’re backpacking, your tent or other shelter usually covers this category. But if you leave camp for a side hike, remember that your tent back at camp isn’t coming with you.
➡️ This is the emergency blanket I use

8. Extra Food: More Than the Snack You Planned to Eat
Bring your normal hiking food and an extra reserve for delays. The National Park Service recommends an extra day’s supply of food that doesn’t need cooking.
This is one category where you can probably just grab extras from your pantry. Granola bars, nuts, dried fruit, or another food you know you tolerate can do the job. Pick something you’ll actually eat.
My test is simple: can I eat my backup food with the equipment in my pack? A freeze-dried dinner that needs hot water isn’t a useful choice if you didn’t bring a stove. Ready-to-eat food is my answer.
9. Extra Water: A Filter Won’t Help If There’s No Water
You might hear “no water sources” and immediately think of a desert hike. But I’ve done plenty of longer hikes in the SF Bay Area without anywhere to refill, either. You need to research the actual route.
Carry enough water for the hike and possible delays. If you plan to refill, confirm that the source is reliable for the season and bring an appropriate treatment method. Don’t assume a blue line on a map means water will be flowing.
I often think about water in miles because that’s how I plan my hikes, but there isn’t one amount that works for every hiker. Heat, effort, pace, and individual needs all matter. Use the destination’s guidance and your experience to plan, and adjust when conditions change.
My pick: Aquatabs or Filter
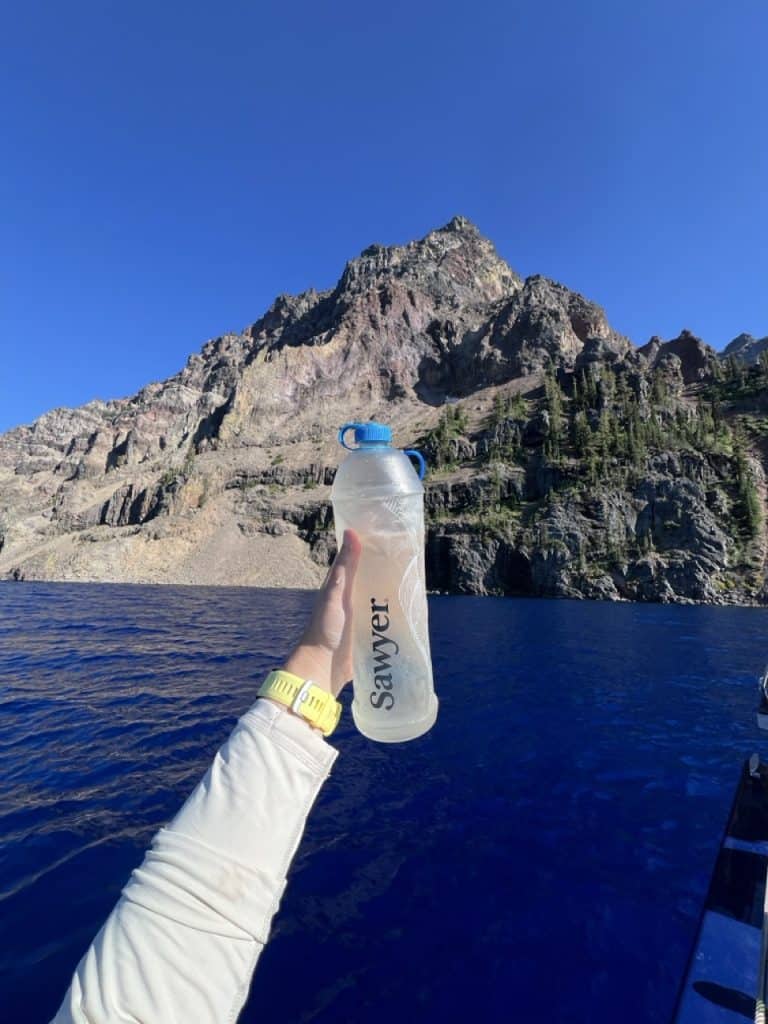
I’ve used several filters, and the Sawyer Squeeze is my favorite. I like the squeeze bottle bag, and that it connects to compatible Smartwater bottles. It’s a good option for hikers who want a squeeze filter and have suitable freshwater sources along their route.
I also bring backup treatment Aquatabs. They work in 30 minutes and are effective against viruses, bacteria and giardia cysts – but not cryptosporidium.
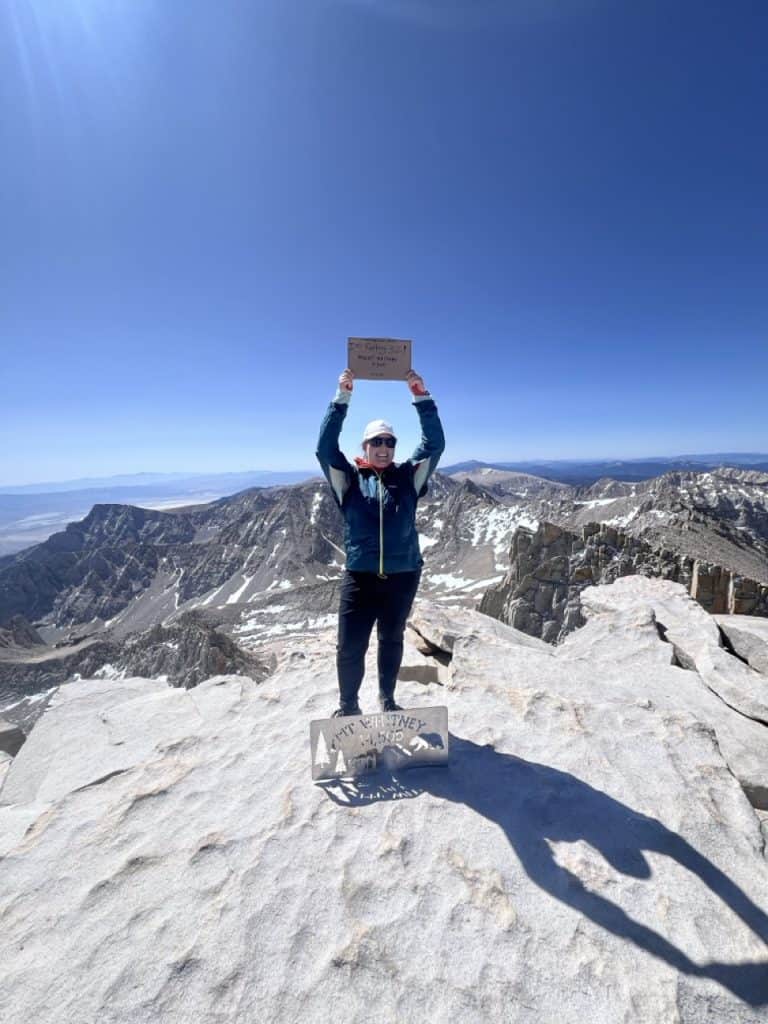
I’ll bring the Sawyer for long day hikes where I know I’ll be filtering water (like Mt. Whitney and Half Dome), and the Aquatabs are purely an emergency option.
- ➡️ Get the Sawyer Squeeze with CNOC filter bottle
- ➡️ I always keep Aquatabs in my pack as an emergency treatment option
10. Extra Clothing: Pack for Stopping and Bad Weather
The layers that feel comfortable while you’re climbing uphill may not keep you comfortable when you stop moving. That’s what I want you to think about when packing extra clothing.
Imagine a two-hour hike turning into a much longer afternoon because someone sprains an ankle. Now you’re moving slowly – or waiting – and the sun is going down. That extra jacket suddenly makes a lot more sense.
Depending on the conditions, my extra layers include:
Wind pants can be a light extra layer when you hike in shorts, but they aren’t a substitute for waterproof rain pants when you need rain protection. Think about the coldest and wettest conditions you could reasonably encounter, not just the temperature at the trailhead.
Read next: See the hiking clothing I recommend if you’re on a budget.

Do You Really Need All 10 Essentials On Every Hike?
My recommendation is to use all ten categories as your starting checklist and choose the actual gear for the outing. But yes, I do recommend carrying all 10 essentials on every day hike.
In the past, I sometimes left emergency shelter or fire-starting supplies behind on familiar local hikes. I always bring an emergency blanket now. Those earlier exceptions were personal risk tradeoffs and a little bit of packing laziness, but I’ve read too many SAR reports now.
If you’re newer to hiking, start prepared, learn what your conditions require, and make deliberate choices. Do not get peer pressured by people calling you “over prepared” or saying “it’s just a short hike”.
If you’re hiking with others, you can coordinate some equipment with your hiking group, but make sure everyone knows who has what. Avoid a setup where getting separated leaves someone without essentials like their own light, water, extra layers, or personal medication. And if you are hiking in a group, you should always stick together on trail.
Two Extras That Should Be in Your Kit Too
A Whistle
Check whether your pack has a whistle on its sternum strap, and make sure you can reach and use it. A separate whistle is another small option for signaling that’s usually more powerful. Either way, it can be a really helpful safety item.
Bathroom Supplies
Everyone poops, including on day hikes. I carry a Deuce of Spades trowel as part of my bathroom kit, but a trowel is only useful where burying waste is appropriate and allowed. Some places require you to pack it out (like Mt. Whitney).
Check your destination’s rules before you go, and pack out toilet paper and other bathroom trash. And remember: do all your bathroom business 40 big steps away from trails, campsites, and water.
- ➡️ For women: wipe your pee with a Kula Cloth
- ➡️ Buy a waste-burying kit
- ➡️ Emergency poop Wag Bags are helpful

How I Keep the Small Essentials Together
One thing that has helped me is keeping the small supplies grouped together so I can move them between the backpacks I use.
I use a gallon Ziploc for some of these items that I don’t anticipate using like my water treatment, emergency blanket, extra granola bars, and my first aid kit.
But my Garmin inReach is on my shoulder strap, and my extra clothing is loose inside the backpack.
Do you need a special hiking backpack?
Start with a backpack you already own if it carries your supplies comfortably. Once you know what you want to carry, it’s easier to tell which features would actually help.
I rotate between a running vest and larger daypacks. My main ones are the Salomon ADV SKIN 12, REI Trail 25, and Gossamer Gear Grit 28. Here’s when I reach for each:
- Salomon ADV SKIN 12: I reach for my vest on short hikes or when I want all the necessities really easy to access. It has less space for bulky layers than my larger packs, so I make sure everything I need fits.
- REI Trail 25: I use this for more casual, all-day hikes when I’m less concerned about weight, when I’m traveling by plane and will be hiking at my destination, or when I want to use a hydration bladder.
- Gossamer Gear Grit 28: This is the pack I used to day hike Mt. Whitney. To me, it’s a blend of the Trail 25 and my running vest: more pack space, but still ultralight, with quick-grab pockets on the running-vest-like shoulder straps.
If you need room for bulky cold-weather layers or additional group supplies, look at a larger pack. Don’t choose a small bag and then leave essential gear behind to make everything fit.
- ➡️ Shop the Salomon running vest
- ➡️ Shop the multi-purpose REI Trail 25
- ➡️ Try a fastpack for all-day pursuits

Pack Your 10 Essentials Before Your Next Hike
Before your next hike, empty your daypack and go through the ten categories. Check what’s already covered, and fill the gaps so you’ll be safe and prepared out there.
Remember to replace the bandages you used, charge your electronics, and make sure the extra snack hasn’t become a snack you already ate. I’ve definitely been guilty of forgetting to restock.
You don’t need to buy ten new things. You do need a setup that works for your type of hikes and that you know how to use.
If you’re ready to start progressing into overnight trips and backpacking gear, check out my full backpacking gear list, which goes well beyond the ten essentials.
